How to SSH into an EC2 server with username other than the generic ec2-user.
Using the default user account is adequate for many applications. However, you may choose to add user accounts so that individuals can have their own files and workspaces. Furthermore, creating user accounts for new users is much more secure than granting multiple (possibly inexperienced) users access to the default user account, because the default user account can cause a lot of damage to a system when used improperly. Therefore, let us create an user with a new Key Pair to give access to the EC2 instance.
First create the user account, and then add the SSH public key that allows the user to connect to and log into the instance.
To create a user account
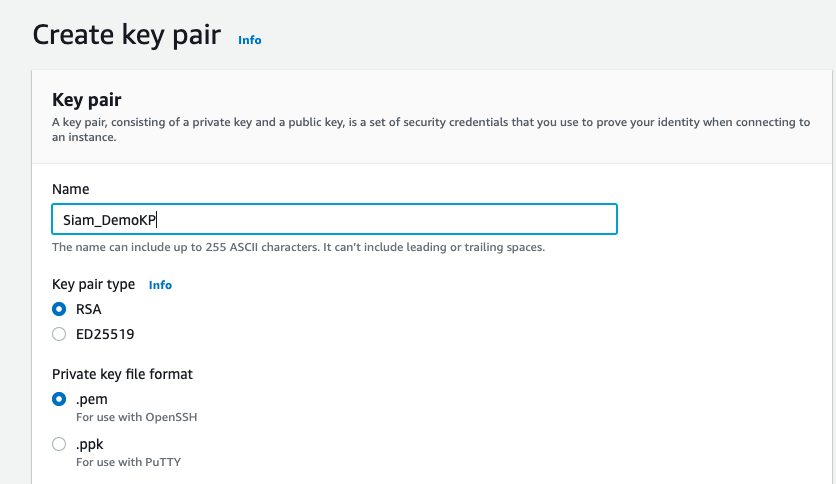
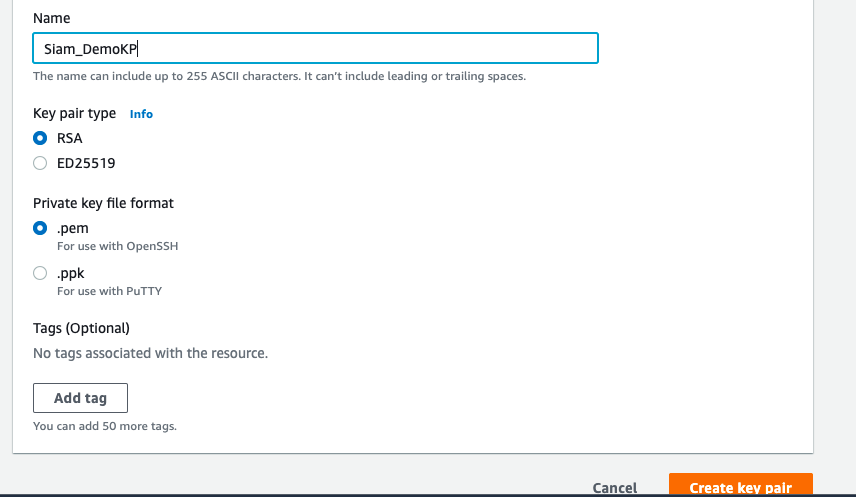
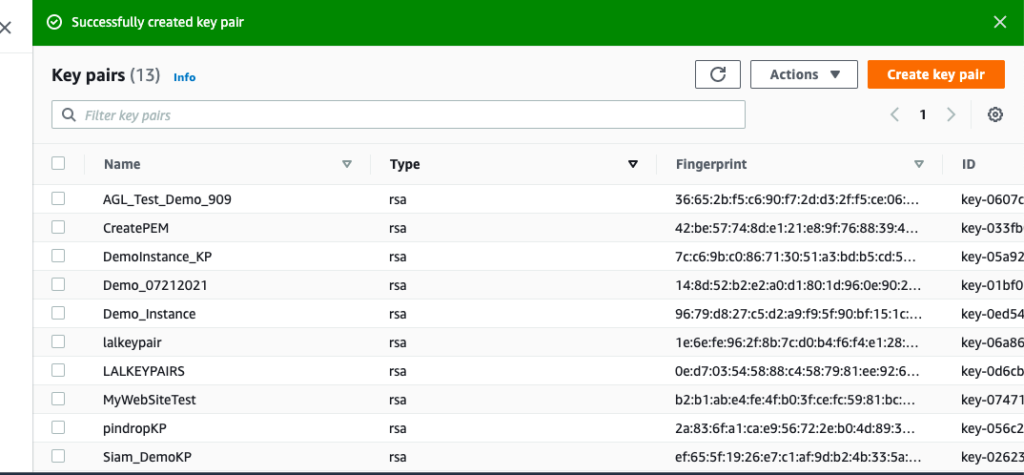
- Create a new key pair. You must provide the
.pemfile to the user for whom you are creating the user account. They must use this file to connect to the instance.
2. Retrieve the public key from the key pair that you created in the previous step. Open the command line terminal and run the following commands in the folder where the Key Pair is saved.
ssh-keygen -y -f /path_to_key_pair/key-pair-name.pem

3. Connect to the EC2 instance.
a. Use the adduser command to create the user account and add it to the system (with an entry in the /etc/passwd file). The command also creates a group and a home directory for the account. In this example, the user account is named Siam.
b. Switch to the new account so that the directory and file that you create will have the proper ownership.Add the SSH public key to the user account.
c. First create a directory in the user’s home directory for the SSH key file, then create the key file, and finally paste the public key into the key file, as described in the following sub-steps.
d. Create a .ssh directory in the Siam home directory and change its file permissions to 700 (only the owner can read, write, or open the directory).
e. Create a file named authorized_keys in the .ssh directory and change its file permissions to 600 (only the owner can read or write to the file).
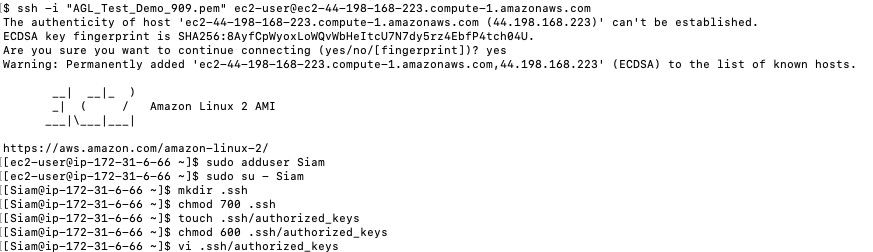
f. Open the authorized_keys file using your favorite text editor (such as vim or nano).
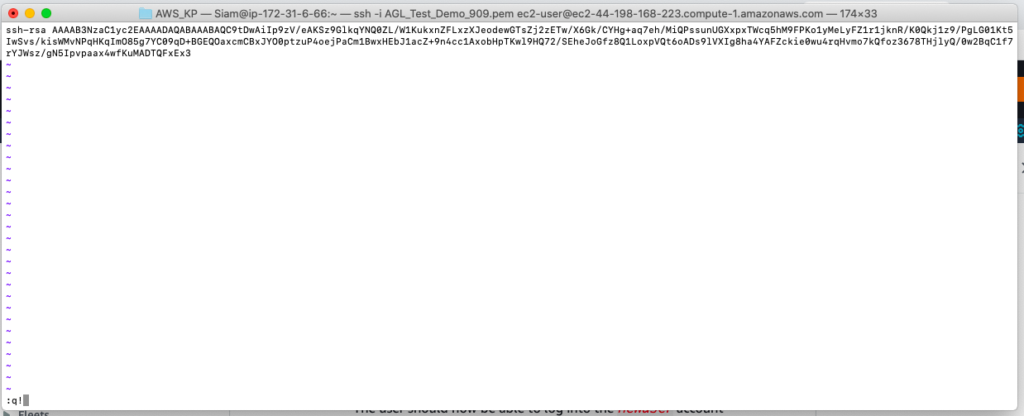
g. Paste the public key that you retrieved in Step 2 into the file and save the changes and exit.

4. Now, log into the EC2 instance using the new user Siam with the Key Pair created.

As we can see we can logged into the EC2 instance with different user name other than the generic ec2-user.